ReactiveSearch is available in Open Source mode as a Docker-based deployment. Run it alongside any Elasticsearch-compatible cluster you manage — whether that's AWS OpenSearch, Elastic Cloud, or a self-hosted Elasticsearch/OpenSearch instance.

This diagram highlights how ReactiveSearch works. It acts as an API gateway between your client applications and an underlying Elasticsearch or OpenSearch cluster. ReactiveSearch supercharges your search cluster with pipelines, search relevancy controls, AI search, actionable analytics, fine-grained access control, and a no-code UI builder.
Quickstart
Using Docker
The quickest way to get started is to run ReactiveSearch alongside Elasticsearch using Docker Compose. This requires Docker to be installed on your system.
-
Step 1: Clone the repository and start the services
git clone https://github.com/appbaseio/reactivesearch-api-docker.git && cd reactivesearch-api-docker
docker-compose -f docker-compose-with-elasticsearch.yaml up -d
This starts Elasticsearch, ReactiveSearch API, Nginx (with TLS), Zinc (for internal logging), and Fluent Bit — all with a single command. 😎
-
Step 2: Verify the service is running
Once the containers are up, verify that ReactiveSearch is accessible:
curl http://localhost:8000 -u rs-admin-user:rs-passwordYou should see a response like:
{
  "name": "elasticsearch",
  "cluster_name": "docker-cluster",
  "version": {
    "number": "9.3.0",
    "build_flavor": "default",
    "build_type": "docker",
    "build_hash": "17b451d8979a29e31935fe1eb901310350b30e62",
    "build_date": "2026-01-29T10:05:46.708397977Z",
    "build_snapshot": false,
    "lucene_version": "10.3.2",
    "minimum_wire_compatibility_version": "8.19.0",
    "minimum_index_compatibility_version": "8.0.0"
  },
  "tagline": "You Know, for Search"
}
This confirms that ReactiveSearch is running and connected to the Elasticsearch cluster.
-
Step 3: Connect the ReactiveSearch Dashboard
Open dash.reactivesearch.io in your browser. Enter your ReactiveSearch URL (
http://localhost:8000), username (rs-admin-user) and password (rs-password).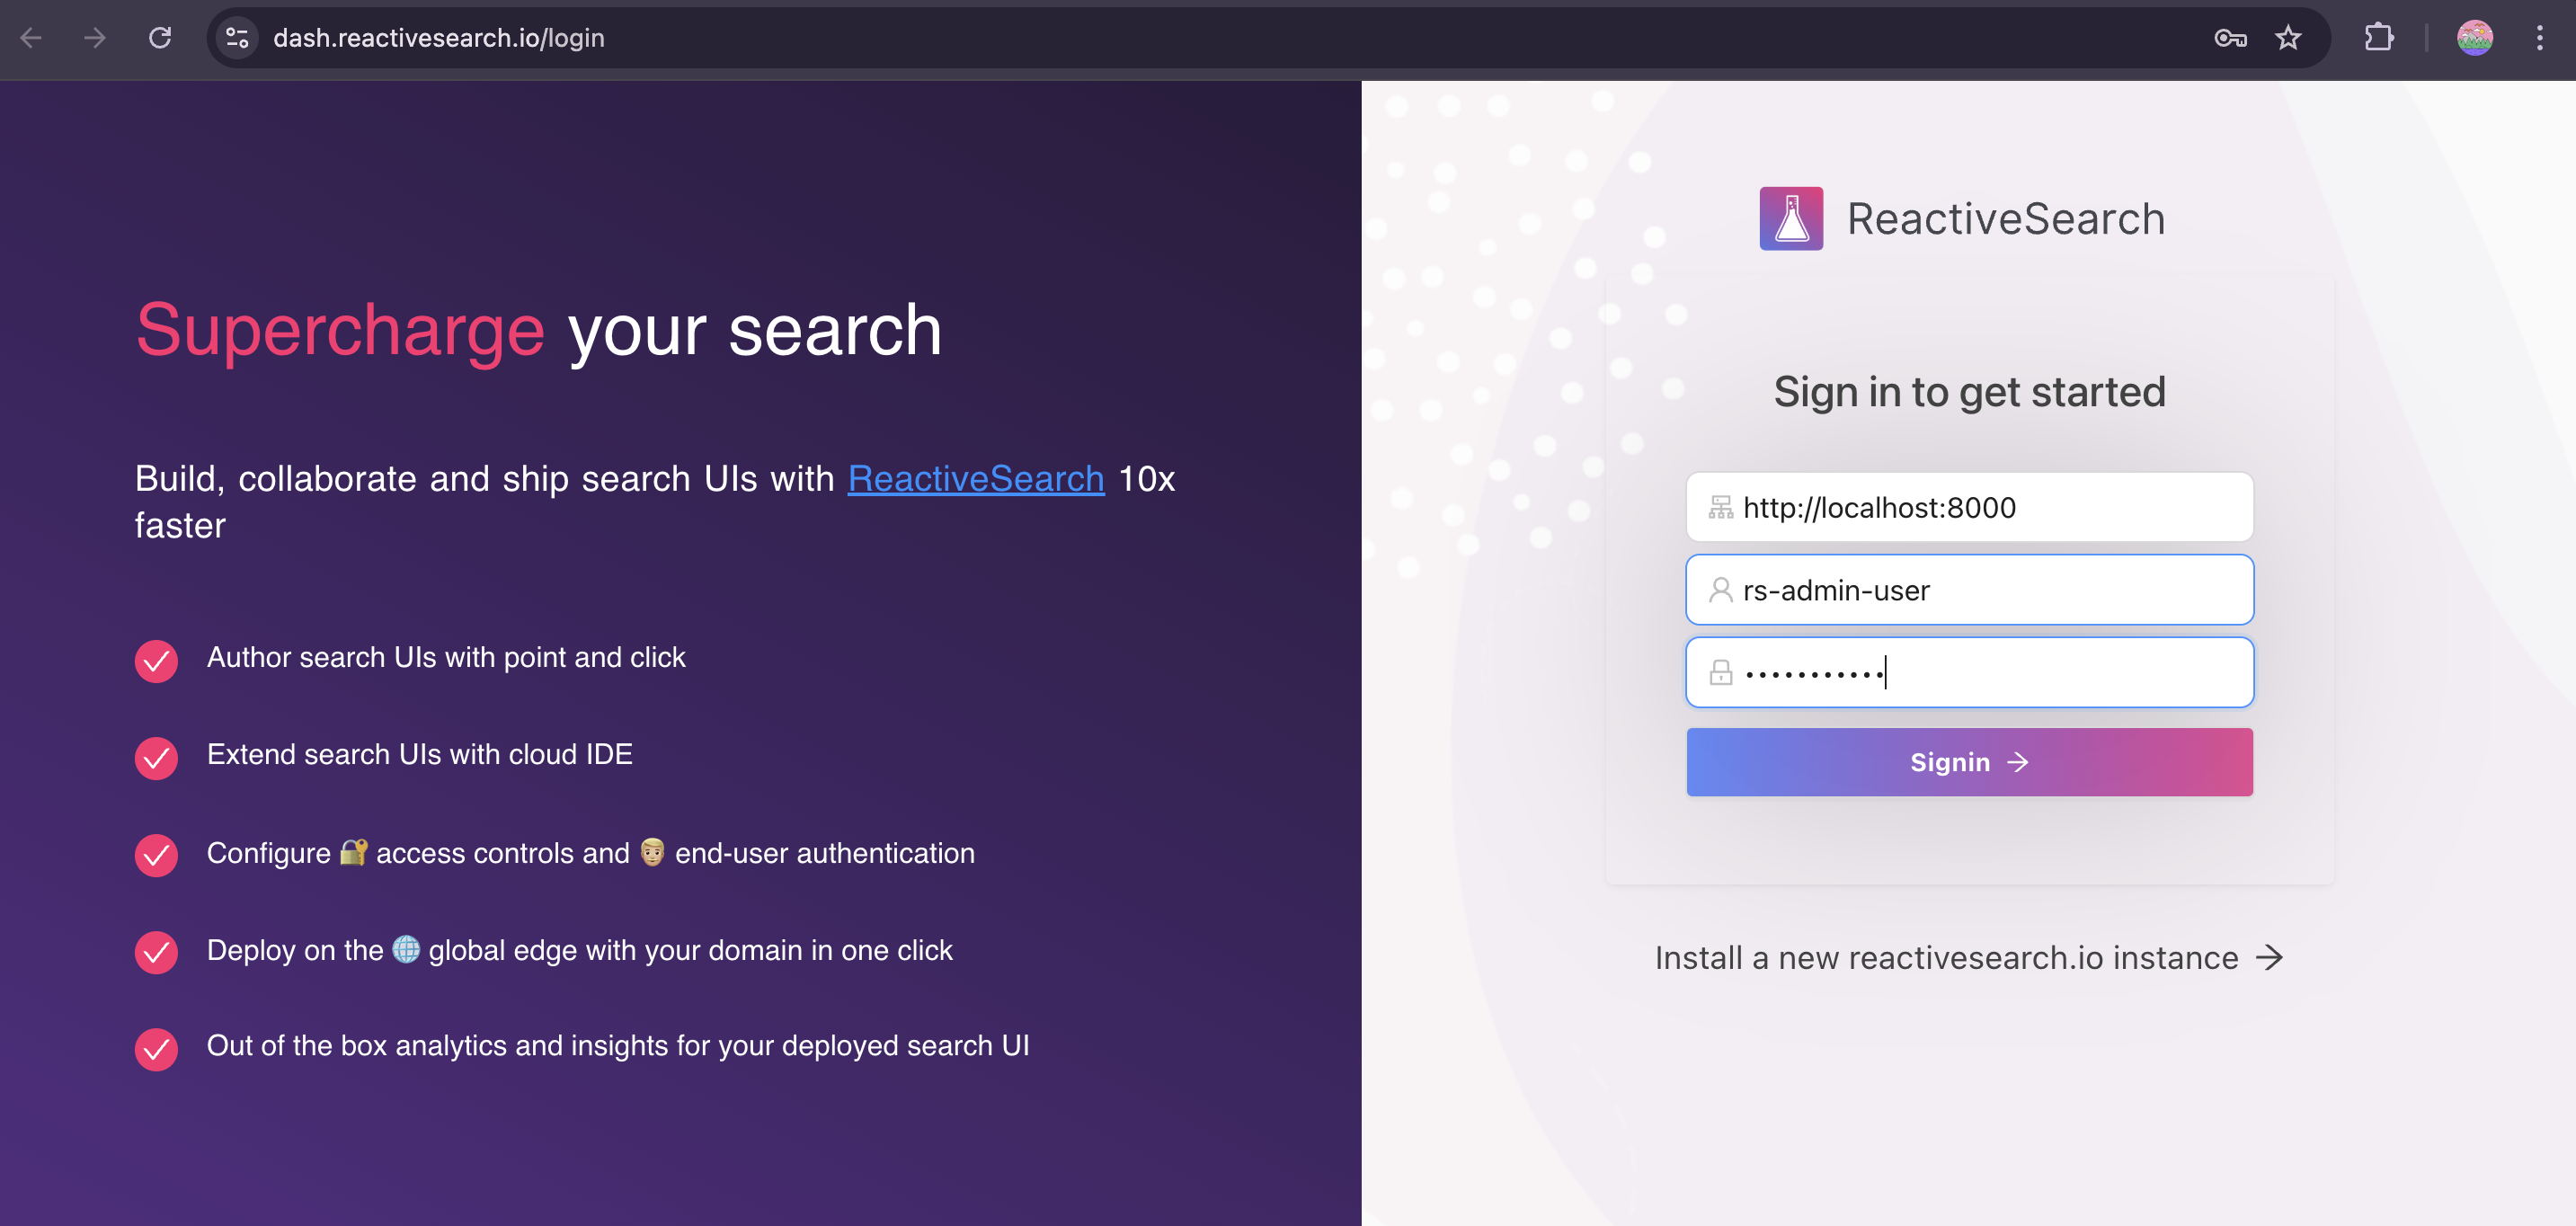
-
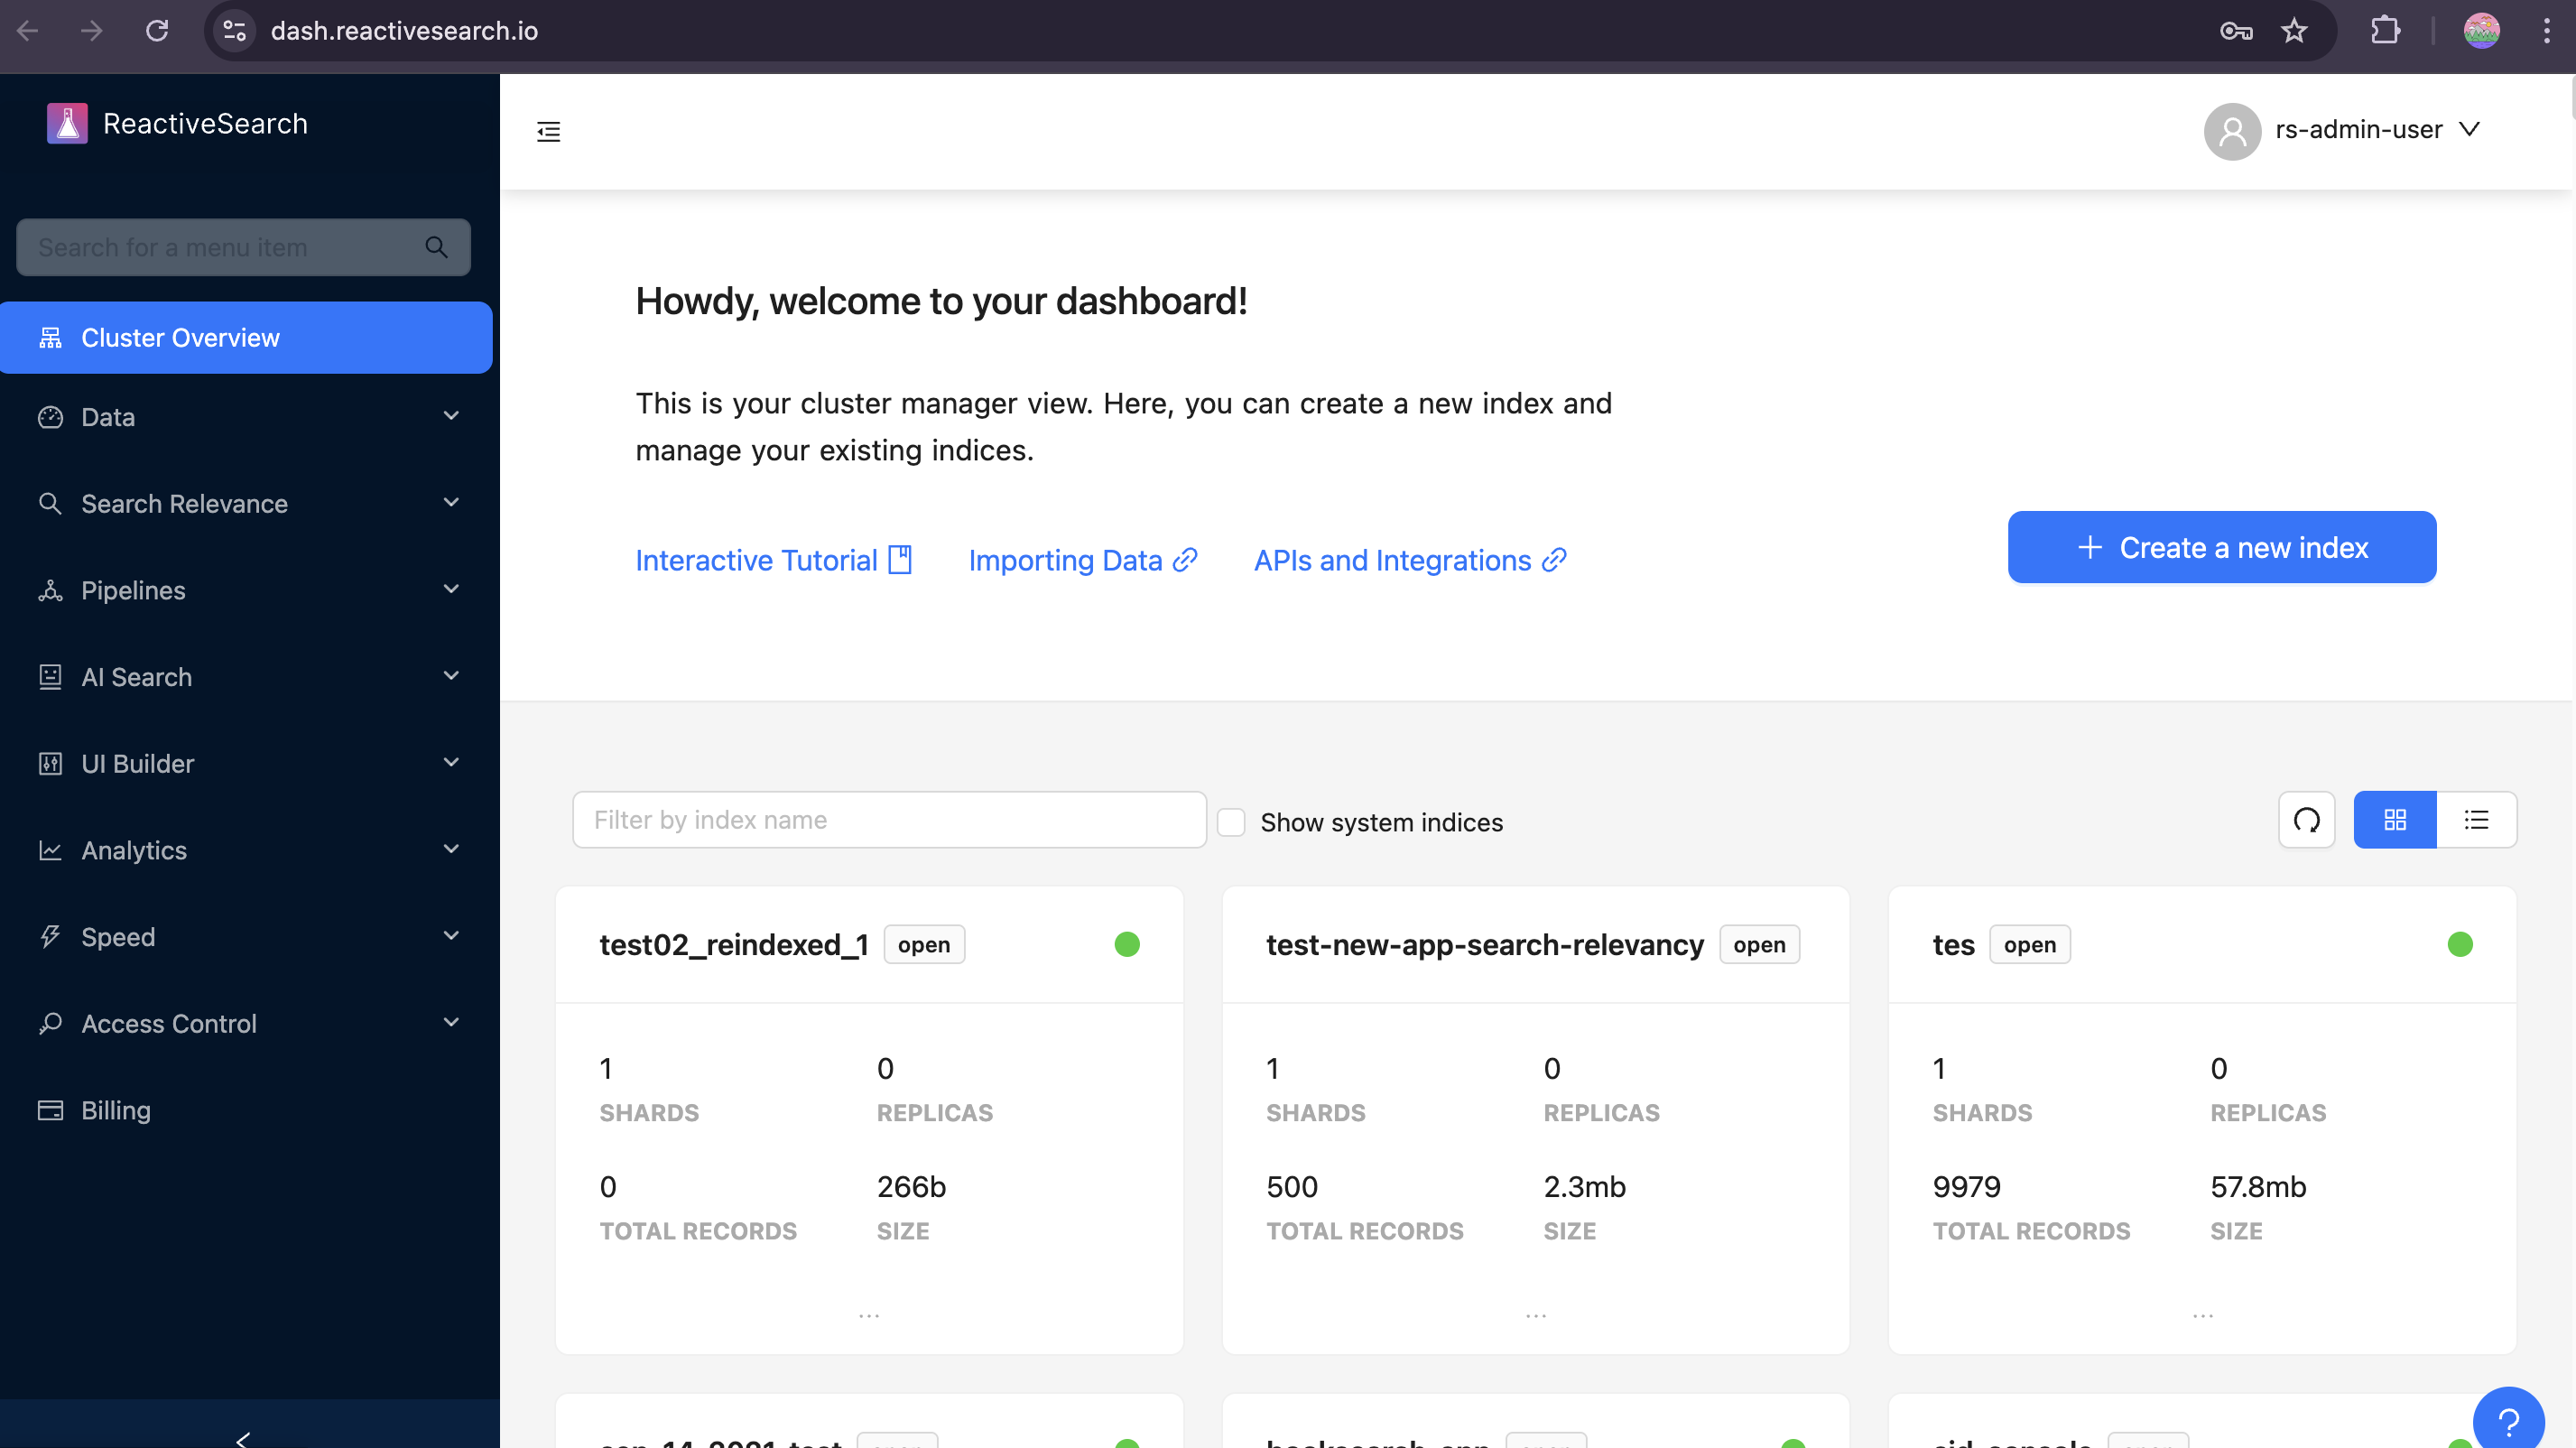
Step 4: Start building your search experience
After signing in, you'll land on the Cluster Overview page — your central hub for managing indices, configuring search relevancy, setting up analytics, and more.
Services overview
The dockerized setup is composed of the following services:
ReactiveSearch API
Allows you to access all ReactiveSearch features like search preview, actionable analytics and granular security with any Elasticsearch cluster hosted anywhere.
Note: Make sure your ReactiveSearch container has complete access to Elasticsearch. You can use Elasticsearch URL with Basic Auth in configuring the dashboard or an IP-restricted Elasticsearch URL where the IP of your ReactiveSearch cluster is whitelisted.
Nginx
This service sets up a reverse proxy for the ReactiveSearch API. It also supports serving data with a TLS certificate, which is recommended for production.
For production deployments, replace the self-signed certificates in nginx/certs with your own TLS certificate and key (e.g. from Let's Encrypt). Update the file names in both the docker-compose.yaml and nginx/default.conf if needed.
Elasticsearch
An open-source single-node Elasticsearch cluster. This is optional — you can use the docker compose file here to run ReactiveSearch without a bundled Elasticsearch and connect to your own cluster instead.
Zinc
A lightweight search engine used internally by ReactiveSearch for logging.
Fluent Bit
A log processor that forwards pipeline execution logs.
Deploy with OpenSearch
To run ReactiveSearch alongside OpenSearch instead of Elasticsearch, use the dedicated OpenSearch docker compose file:
git clone https://github.com/appbaseio/reactivesearch-api-docker.git && cd reactivesearch-api-docker
docker-compose -f docker-compose-with-opensearch.yaml up -d
This sets up:
- OpenSearch (single-node, port
9200) — an Apache 2.0 licensed search engine compatible with the Elasticsearch API - ReactiveSearch API — connected to OpenSearch via
ES_CLUSTER_URL=http://opensearch:9200 - Nginx — reverse proxy with TLS support
- Zinc — lightweight search engine for internal logging
- Fluent Bit — log forwarding for pipeline logs
The default credentials configured in the compose file are:
- ReactiveSearch username:
rs-admin-user - ReactiveSearch password:
rs-password
You can change these by editing the environment variables in the compose file or via the configuration UI at http://localhost after startup.
Connecting to AWS OpenSearch
To connect ReactiveSearch to an existing AWS OpenSearch cluster (instead of running a local one), modify the ES_CLUSTER_URL environment variable for the reactivesearch-api service in your docker compose file to point to your AWS OpenSearch endpoint:
reactivesearch-api:
    environment:
      - ES_CLUSTER_URL=https://your-aws-opensearch-endpoint.region.es.amazonaws.com
Note: Ensure your AWS OpenSearch domain's access policy allows connections from the machine running the ReactiveSearch Docker container. You can use IP whitelisting or fine-grained access control with a master user to secure the connection.
Deploy with Elastic Cloud
To connect ReactiveSearch to your Elastic Cloud cluster, modify the ES_CLUSTER_URL environment variable to use your Elastic Cloud endpoint with credentials:
git clone https://github.com/appbaseio/reactivesearch-api-docker.git && cd reactivesearch-api-docker
docker-compose up -d
Edit the docker-compose.yaml (or use the configuration UI after startup) and set:
reactivesearch-api:
    environment:
      - ES_CLUSTER_URL=https://username:password@your-elastic-cloud-endpoint.es.cloud.es.io:9243
Setting up Elastic Cloud credentials
- Log in to Elastic Cloud and open your deployment
- Navigate to Kibana → Management → Security → Users
- Create a new user (e.g.
reactivesearch-connect) with a superuser role - Construct the URL as
https://<username>:<password>@<elasticsearch-endpoint> - Use this URL as the
ES_CLUSTER_URLvalue
Why is a
superuserrole needed? ReactiveSearch creates and manages system indices within your Elastic Cloud cluster for recording analytics, storing query rules, search relevance preferences, logs and more. Other roles don't allow access to these indices.
ReactiveSearch connects to your Elastic Cloud cluster from a private environment and these credentials aren't exposed anywhere.


